[su_box title=”Solexx Announcement” box_color=”#34634c” title_color=”#fbe204″ radius=”4″]Dear Friends: A quick note: Many of you know I am a Solexx distributor. I originally wrote this post in January 2020 when prices were about to go up. The offer still goes, though: if you are thinking of building a greenhouse or upgrading the one you have, I will make you the best deal I possibly can. I firmly believe we could solve many of the world’s problems if more of us grew our own food and shared the surplus with our neighbors. My greenhouse has been a game-changer! Contact me![/su_box]
* * * * * * * * * *
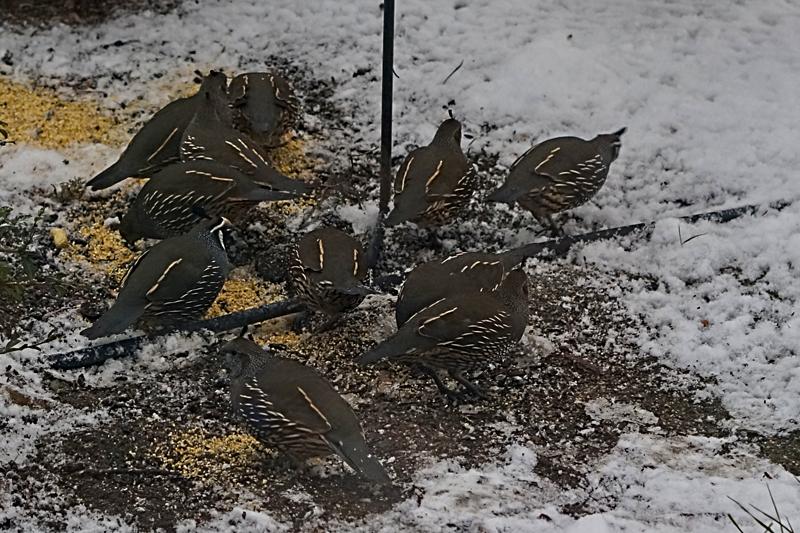
Winter is here! We woke up to 6” of snow here close to sea level – much more in the foothills – and multitudes of birds scratching under the feeders in search of what might remain beneath this cold white stuff. Temperatures were predicted to drop into the teens, so in a panic, I took some last-minute steps to prepare my favorites in the greenhouse for the worst.
I am not a market gardener, so any loss in plants does not amount to huge financial losses. Nor am I a self-sufficient Eliot Coleman. I am more the eclectic gardener type: I like to experiment with uncommon fruits and herbs. My greenhouse (a 14’x16’ structure with about a 10’x16’ growing area) serves as a season extender and in winter, a holding place for various cuttings and plants that benefit from a little added protection, along with a few herbs and salad greens. I could certainly be more efficient with the space! Things pick up exponentially in another month when we start noticing longer daylight hours, at which time we reshuffle the hardier plants and make room for trays of starts.
But for now, no matter what type of gardener you are, there are steps we can all take over the winter to increase the survival rates of our greenhouse-grown protégées.
Garden Strategies for the Winter Greenhouse
Move the Most Sensitive Inside the House
San Pedro cacti – sorry, you won’t make it here. It is dark inside our house, but at least it stays above freezing.
Plug the Holes
There are rather large gaps where the roof rafters meet the wall framing. These holes are great in summer for increasing circulation, but in winter, not so much. I filled these with old bubble wrap. I should probably make some foam inserts for these areas. The framework is built 2-feet on center, so there are only 8 of them.
The wooden frame doors and windows expand and contract a bit with the seasons. Right now, they are very tight, making them somewhat hard to open. There are some gaps, however, around the edges that could be covered with plastic or Duck tape.
Cover Them Up!
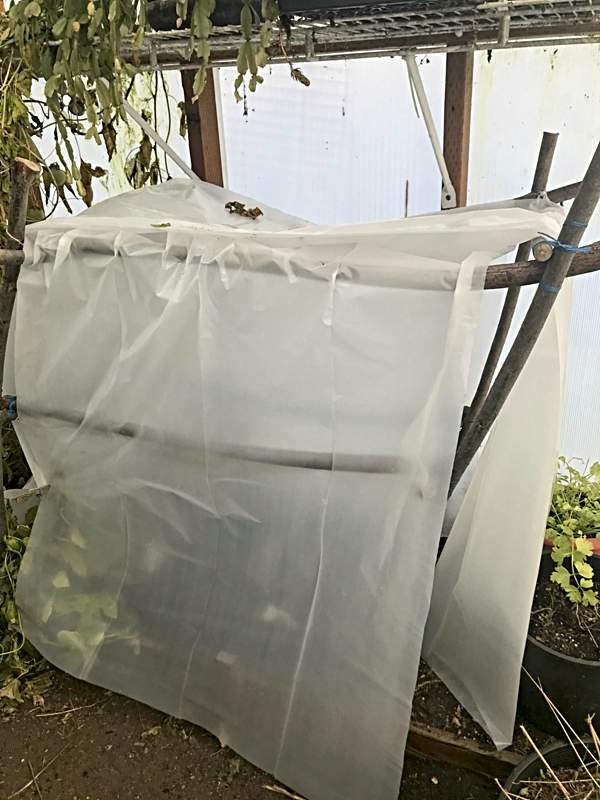
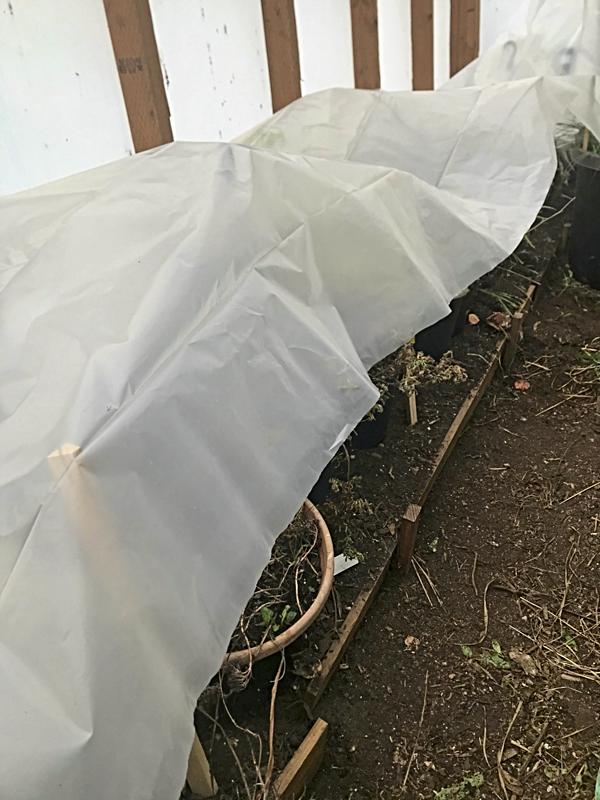
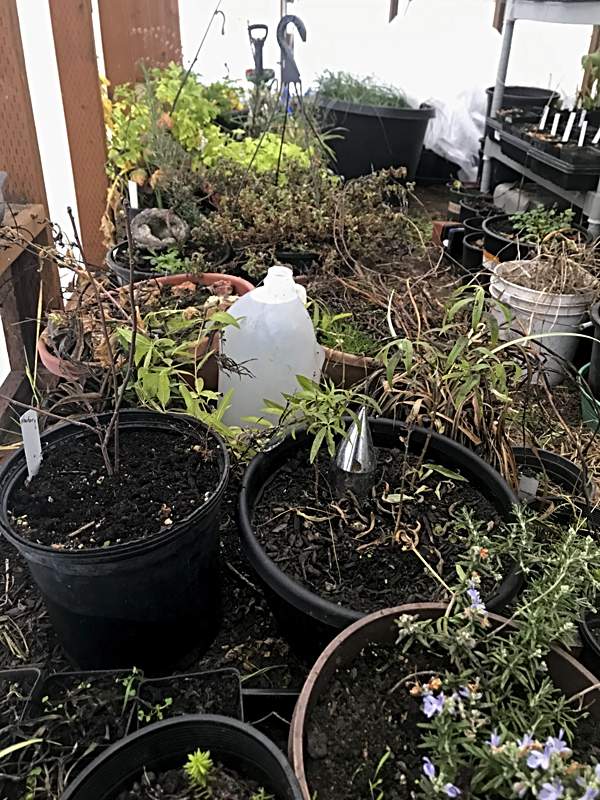
A simple extra layer of plastic directly over the plants can make a huge difference. The idea here is to create makeshift cold frames, hoop tunnels, or a greenhouse within a greenhouse.
I grouped all the potted plants together that needed the most protection and covered them with old sheet plastic. I stuck sticks in the ground to hold it up off the plants as much as possible. In the future, I will create a better framework out of willow, PVC, or sturdy wire.
Similarly, I used the old framework for the tomatoes (built from willow cuttings — basically a large rectangular tomato cage to support the limbs) and draped plastic over it. It’s kind of funky, but will work for now. I put this in the area where I have some ashwagandha growing, a sensitive plant, so it might not make it, but is still worth a try. In hindsight, I should have put a small cold frame / hoop house in this area and used the tomato framework for taller plants. Might rearrange that at some point. Not now.
I also grouped my Andean root collection and covered them in plastic, along with the tray of quince shrubs I am trying to sprout from seeds. I should have done this earlier, as I see rodents have been trying to eat some of these plants. Rodents continue to be a problem in the greenhouse, and so far, have escaped my live traps. Hmmmm. They even managed to eat most of the acorns I had planted; however, some have succeeded in sprouting, and those, too, are now under plastic.
Another idea would be to put an ag-fabric cover (like Reemay) over the plants and then cover with the plastic, which is not a bad idea because the fabric breathes.
Thermal Mass: Water Barrels & Jugs
We have 55-gallon barrels of water lined up against the north wall to absorb the heat during the day and offset the cold temps at night. They take up quite a bit of space but provide a platform for a shelf. I grow shade-lovers back here. In addition, I filled a collection of 5-gallon buckets and upcycled plastic milk jugs with water, which can be strategically placed around some of the more sensitive plants. It seems to be working.
The Ground is Your Friend; Pots are Vulnerable
Plants growing in the ground are better protected than those above ground in pots. Although we have beds along the south and east walls, I still plant quite a few things in pots. I always have a combination of growing methods going on and the greenhouse always seems to be in a state of transition. No one method works for everything; a combination approach and flexibility is key.
Hardy Plants Have an Advantage
Of course. But one of the reasons for having a greenhouse in the first place is to be able to grow things you might not otherwise be able to. Still, many if not most of the plants I have in there could probably survive just fine without extra protection; however, being inside will ensure they get through the winter with minimum stress and get a jumpstart on spring.
Other Options for Winter Protection
Choice of Glazing Material
I am convinced that Solexx is the best material out there for your greenhouse. Seriously, after we built our structure, I loved it so much, I signed up to be a distributor.
Solexx is a twin-walled high-density polyethylene plastic (HDPE) material that diffuses the light, resulting in up to 25% faster growth. Plus, it’s a great insulator. The 3.5mm has an R-value of 2.10; the 5mm has an R-value of 2.30 (the higher the R-Value, the greater the insulation value), both of which are better ratings than 8mm triple-walled polycarbonate, double-pane storm windows, or 10-mm twin-walled polycarbonate. Plus, if you look at the U-value, which is the measurement of ‘heat loss’ through the material, Solexx still comes out a winner: the 3.5mm has a U-value of 0.48; the 5mm has a U-value of 0.43 (the lower the U-Value, the less heat is escaping).
So – if you’re planning a new greenhouse or thinking of replacing your current plastic with something more durable, consider Solexx.
Thermal Mass
The idea here is that the “mass” absorbs the heat during the day and gives it off at night. There are lots of ways to do this, including using water, rock cob, or the earth itself.
- Water: This one is easy. As mentioned above, we use 55-gallon barrels filled with water positioned along our north wall. They are painted black and absorb a lot of heat. I admit, though, they have a tendency to sweat (condensation on the outside). We also use a series of plastic milk jugs, upcycled kitty litter tubs, 5-gallon buckets, etc. filled with water. These could also be painted black.
- Rock: Even something as simple as laying down pavers in the pathways to absorb some of the heat can be a thermal heat sink. Some people have rock on their back walls or build beds with it. Bricks and concrete would also work, but not as efficiently.
- Earth: Earth, clay, and compressed earth mixes, such as cob, are very effective at storing and radiating heat – which is why it is used around rocket-mass heater set-ups and also why some greenhouses are sunk into the ground.
Heat Exchanger or “Climate Batteries”
Incorporating a heat exchanger into the greenhouse at the time of construction allows the hot air from the ceiling to be pumped via a fan through a series of underground tubes, which then give off heat directly to plants through the soil. These same tubes can bring cooler air from below ground to circulate above and create a cooling system. Ceres Greenhouse Solutions has some pointers. Eco Systems Design, Inc. also has extensive information on “Climate Batteries” for greenhouses, and how to create underground heating and cooling systems. If I were to have a large market greenhouse or a large living space type greenhouse, this is the route I’d go!
External Heat Sources
Lots of options here if you are willing to plug in a heater occasionally, turn on a heat lamp, use heating mats to create bottom heat, etc. But not all sources require electricity. For example:
- Compost: Compost piles generate a lot of heat! Include a composting chamber in the design – or pipe the heat in from a large compost pile outside.
- Animals: Warm bodies give off heat. Bring in rabbits or chickens?
- Terracotta pots and candles: Flower pots connected with metal nuts and bolts and set upside down over tea candles are designed to mimic a ceramic heater. This idea just might work on a short-term basis in small spaces, but a tea candle can give off only so much heat, so adjust your expectations accordingly (I think I’m going to try this Clay Pot Candle Heater set-up).
- Rocket mass heaters: I love this idea. Someday I will build one, but it would take up too much space in my current set-up. A mini version could work if you were able to feed it frequently. Midwest Permaculture featured their Epic Greenhouse Rocket-Mass Heater, and it was quite the installation! Definitely for a large operation! Here are some plans for the DIYer.
Additional Cover-up Ideas
- Night shades – Like an insulated blanket that is dropped down over the greenhouse exterior; a shade cloth for winter. This is a great idea but unlikely to work in our wet climate; however, if it could be installed on the inside, and then pulled up and let down on pulleys, like Roman shades? Or maybe used as an extra covering over a cold frame? Sure. Why not.
- Greenhouse within a greenhouse – As described above, I’ve created a make-shift version of this idea, but it most certainly could be made into a small portable structure. The point is, each layer is an extra zone of protection. A simple cold frame would be easy to install and remove, as necessary. Even bubble wrap provides an extra layer of trapped air; not that I’m an advocate for more bubble wrap in the world, but if you have some you can recycle, this might be a good use for it.
- Hot House – Similar to a cold frame, but with a heat source, such as a heat lamp or heating mats and coils. One could also dig down and apply a layer of horse manure in the bottom and then cover with soil. An upcycled glass door can serve as a top that can easily be opened or removed when temperatures are warmer. It can also be covered with a blanket when temperatures fall.
- Mulch – Just like in the outside garden, a deep mulch is a simple way to insulate plants and build soil. Straw and leaves over beds are especially kind to roots and root crops, like carrots and beets. Unfortunately, rodents love mulch, too, which is why I’ve rarely grown a decent crop of carrots. I’m hoping the feral cat I’ve been feeding this winter will hang around and help me out.
- Snow – Don’t forget, snow, too, can be an insulator. It adds an odd grey light to the inside when it’s on our roof. So if the sun comes out, it’s best removed to let the sunshine in, after which, with Solexx covering, the greenhouse heats up pronto. If you have thermal mass materials – be they rock, water, soil – in place to absorb that heat, you can take advantage of it to offset heat losses later. On the north side, though, and possibly around the bottom edges, you might want to leave the snow to insulate.
- Flexibility – The trick with many of the cover-up methods is to be able to apply them when needed and remove them when they are no longer an advantage.
Next Steps
Ok, protections are up, we’ve done what we can for now. What other things can we do to improve our success with growing plants in the winter greenhouse?
- Minimize watering. Plants aren’t growing with the little light we get at this time of year. They will suffer from overwatering. Also be careful of overwatering cuttings. More energy will be channeled into growing roots when the light hours increase.
- If frozen, don’t harvest. When plants are droopy – or even frozen – give them a chance to perk up. Don’t harvest them or they will unlikely be able to recover.
- Grow in the ground when possible. As noted above, ground-grown plants are less susceptible to freezing and have more access to microbial communities, so are often stronger.
- Grow hardy varieties. Be realistic. I know, for example, that I cannot create a tropical environment in January without supplemental heat. Fresh greens – lettuce, mizuna, mache, arugula, and their kin – are such a treat in winter. I’m going to devote more space to these in the coming year; I just have to remember to plant in late summer.
Winter Greenhouse Tasks
Even though it is too early to plant seeds, there are still quite a few things we can do in the winter greenhouse to get our gardening fix:
- Wash the windows. Sounds a bit mundane, but with Solexx, a little warm soap and water makes it easy to get rid of any of the green mildew that might have been growing behind those dense tomato plants of summer. When the sun is low on the horizon, the more light you let in, the better. Clean windows help.
- Go through your seeds. Ok – go ahead and start a few onions if you must – but growth is so slow at this point, it doesn’t really give you a head start. Other cool-weather crops you might want to start in a few weeks include brassicas, greens, spinach, peas, favas, etc. Take an inventory of what you have, what you have room for, and what you need.
- Sketch out a plan for how the new season’s plants will fit in the space. The smaller the greenhouse, the more space is a premium. Hard decisions have to be made, and perhaps some serious introspection. It might require a beverage or two, and at the very least, chocolate.
- Define your goals. The introspection continues. Will you be growing plants for market sales, barter, and/or trade? Difficult-to-germinate perennials? Cuttings? For example, I love the jungle effect, but get real: do we really want to let the passionflower create a cascading wall of exotic flowers along the entire north side again? (well, yes, I think we do! But I needn’t allow them to take over the entire place like last year!) Do we allow relatively hardy herbs to continue to take up valuable front-row space where we could be planting edibles? Do we even want to bother with growing a mundane salad in our limited space (we could start it in a cold frame outside), when we could be starting gunnera, a rice paddy, and blue bean trees? You get the picture.
- Start seeds that need cold stratification. Here’s my ongoing list.
- Take some cuttings. Not everything – but a few natives work well in winter: elder, mahonia, Saskatoon, red flowering currants, kinnickinnick, wild huckleberries, etc. Others do better when the sap starts to flow, in my opinion.
- Make room for new seed starts. The greenhouse is always in a state of transition. Rearrange to make room for new starts, or at least, do the best you can within the constraints of coverings.
- Kick Back! Sun is out? Greenhouse will be heating up! Don’t bother doing anything outside – it’s still too cold and wet (ok, maybe you could do some pruning). Instead, grab a cup of tea, your collection of seed catalogs, and read up on germinating seeds. You can start with this article here: “Perennial Seed Germination Made Complicated (or rather easy).” Winter gardening season is not for hurting yourself outside – it’s for reading about gardening and visualizing a greener future for all.
- Get ready for mid-February, which is the official end of “the Persephone days,” coined by Eliot Coleman as that time when we emerge from the darkest winter. Not quite spring, but with over 10 hours of daylight, plants start waking up and are willing to germinate. Time to plant a few cold-weather crops. Celebrations are in order. Yesiree.
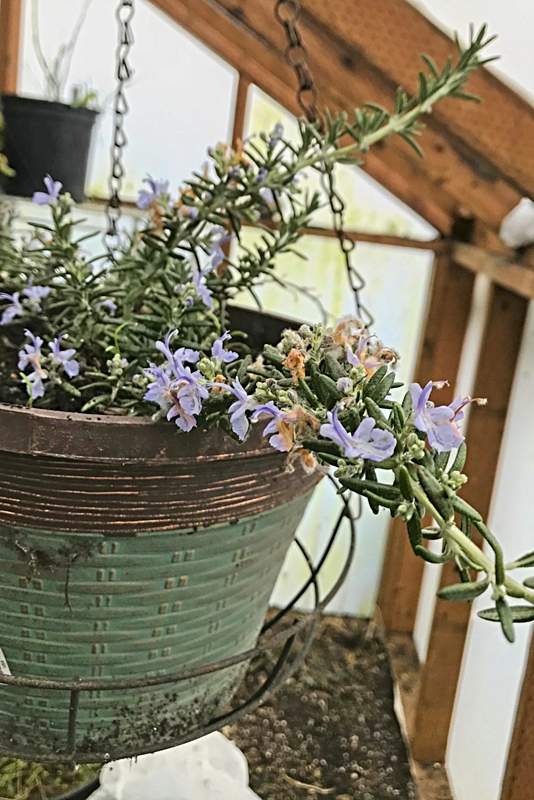

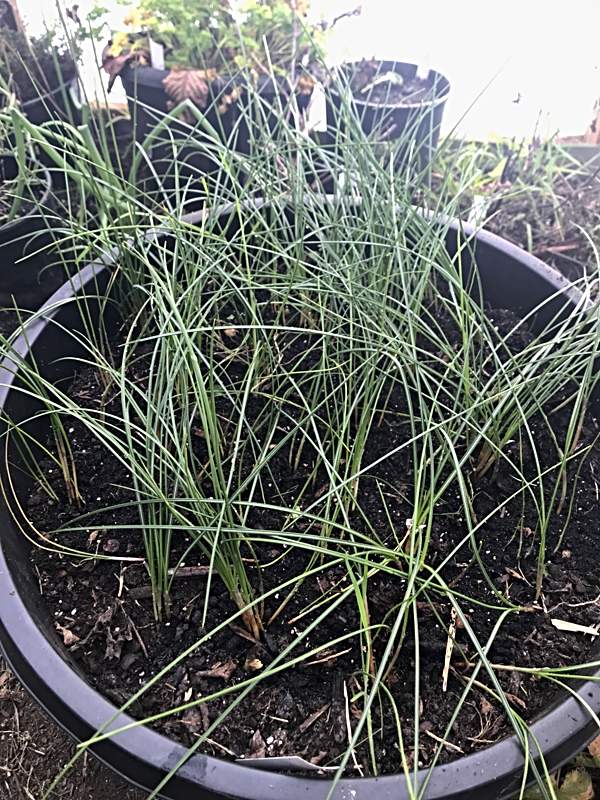
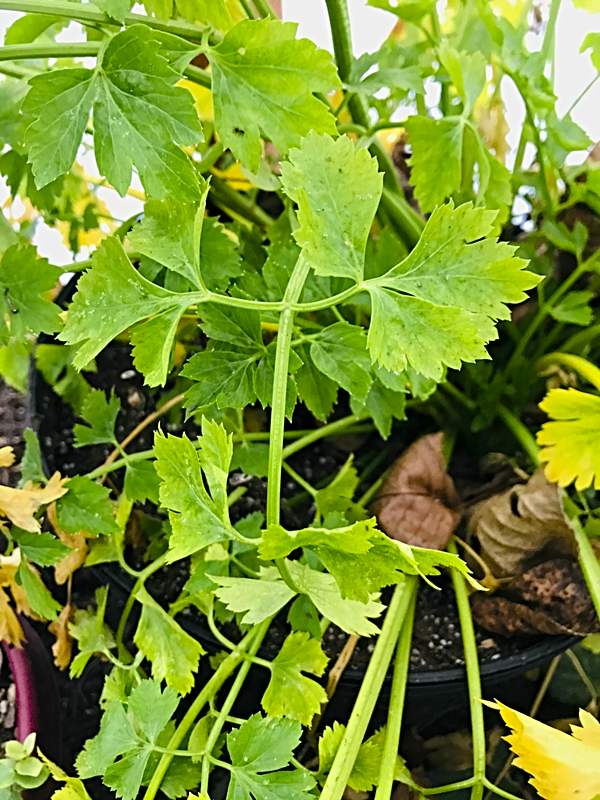
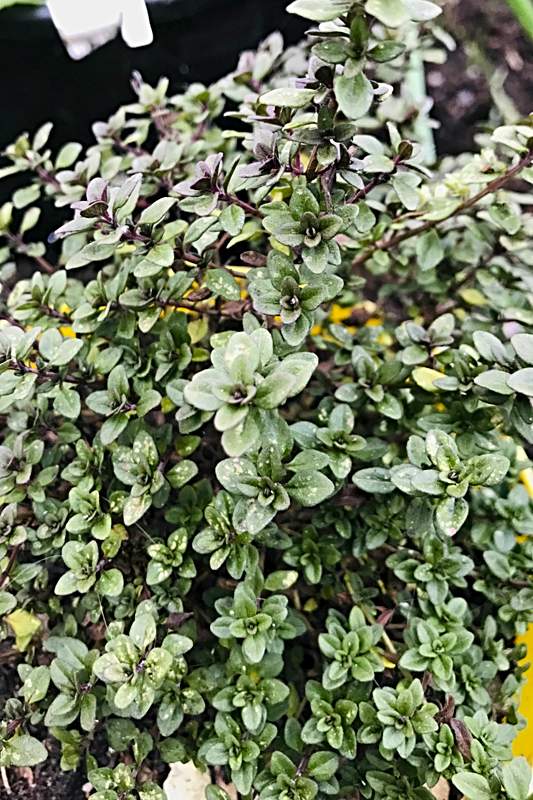
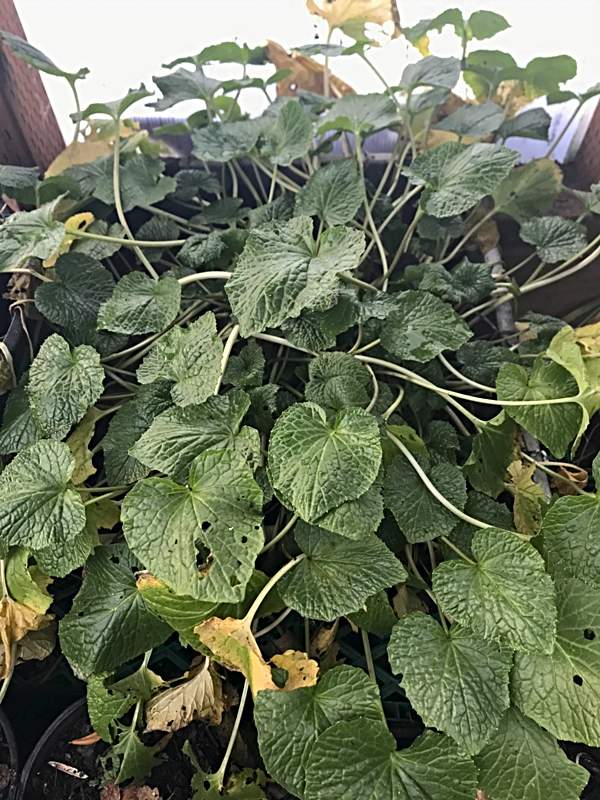
What We’re Growing in the Greenhouse at Barbolian Fields
To give you an idea, here’s what we currently have growing in our greenhouse:
[su_row][su_column size=”1/3″]
Berries
Black Currants
Blueberries
Cranberries
Honeyberries
Jostaberry
Kiwi Berries
Red Flowering Currant
Seaberries / Sea Buckthorn
Trees & Shrubs
American Highbush Cranberry
Ceanothus
Elderberry
Jujube trees
Oak trees (started from acorns)
Paw Paw tree
Quince
Siberian Pea
Yellowhorn trees [/su_column][su_column size=”1/3″]
Herbs
Ashwaghanda
Astragalus
Celery Herb
Clary Sage
Codonopsis
Garlic Chives
Lemon Verbena
Lemongrass
Licorice Root
Marshmallow
Mint (variegated shrub variety)
Oregano
Parsley
Passionfruit / Passionflower
Rhodiola
Rosemary
Thyme
Wasabi [/su_column][su_column size=”1/3″]
Bulbs & Root Crops
Chinese Yam
Earthnut peas
Madder Root
Mashua
Oca
Saffron Crocus
Ulluco
Other
Christmas Cactus
Sedums
Spider Plants
Pots of assorted seeds that didn’t germinate (but still might)
Hmmm… might have forgotten something
[/su_column][/su_row]
Extreme Winter Conditions: Greenhouse Standing Strong
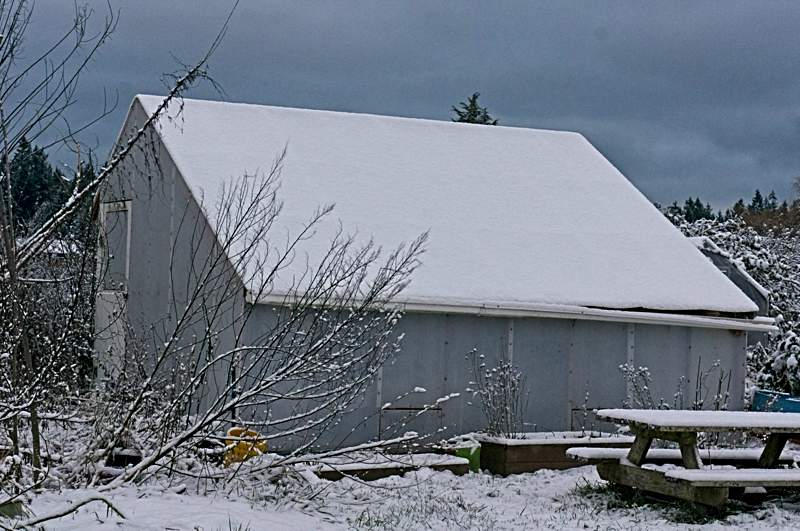
As I wrote this, we were being hit by what meteorologists are calling a “bomb cyclone.” This is a real thing. It is when the barometric pressure drops 24 millibars within 24 hrs. That measures a 0.71” drop on the mercury scale. We plummeted 0.74”. We got record levels of snowfall in some areas and winds that topped out at 54 mph! The greenhouse is still standing strong. Nature is reminding us that it is, indeed, still winter.
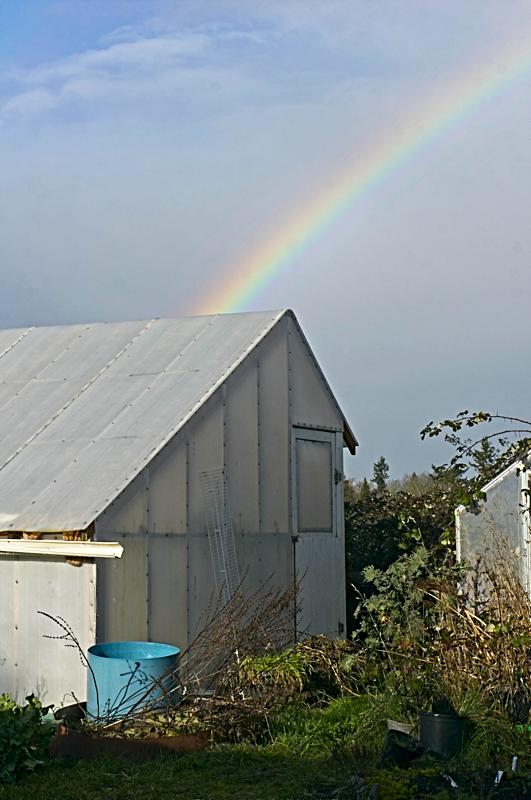
It is the next day now and it is strangely calm. The sun is out, but still chilly at 39 degrees F. The remaining snow on the greenhouse roof is sliding off; there is a steady stream of water pouring into the rain barrel. Inside, it is a balmy 65 degrees! Whoaa! Under the plastic, the Mediterranean mint, lemon verbena, and wasabi are all looking robust. Success!
I absolutely love this greenhouse!
Really enjoying your blog, Blythe! ~G
Thank you, Getta! 🙂